

In Montessori education, three part cards are used for all sorts of things. They can be used to teach a wide variety of information using a basic form that can be reproduced easily. Let me be clear here, three part cards are intended to be used with children who are reading. If your child isn’t yet reading there are things you can still do with certain parts of the cards, such as producing two matching sets of picture only cards for a memory or matching game. But for the most part, three part cards are meant to increase the vocabulary and scientific understanding in children who can already read.
That said, several months ago Julia showed interest in reading and began to sight read a few words. So of course, I started making three part cards. And I’m completely addicted. They are SO MUCH FUN to make, and provide hours of learning and entertainment for my daughter. And on top of all that, I’m actually learning some things I didn’t know before.
So now I’ll tell you what the three parts are, give you a couple of links for further exploration, and then I’ll show you how I made my own…
Three part cards are sets of cards containing:
1) A control card with a picture AND a word
2) A card with just a picture &
3) A card with just a word
Cards are placed in a tray or box so that the control cards are upside down and used at the end of the activity to check your work. Cards with images are placed on a table or rug, and their corresponding word cards are matched up. Here’s a better description of how to give a Montessori three part cards lesson to your child: Scroll down to “How do we use it?”
http://www.montessoriprintshop.com/Use_Montessori_Nomenclature.html
Alright, so how do we make them? First, decide if making them yourself or purchasing them ready made is the best choice for you. Here are the things you’ll need to make your own:
1) Cardstock
2) A color printer (or photo stickers)
3) A laminator and laminating sheets
4) A paper cutter is helpful, but scissors also work
Assuming you have all these items, there are a couple of easy and fun ways to go about creating your three part cards. If you don’t want to use a bunch of ink and you want photo quality images, I’d recommend using photo stickers. I made these farm animal three part cards as Julia’s very first set. I initially introduced the control cards as simple flash cards and we played a matching game with the animals from her play farm:

Now she uses them as traditional three part cards and matches up the cards with their words, checking her work with the control cards.
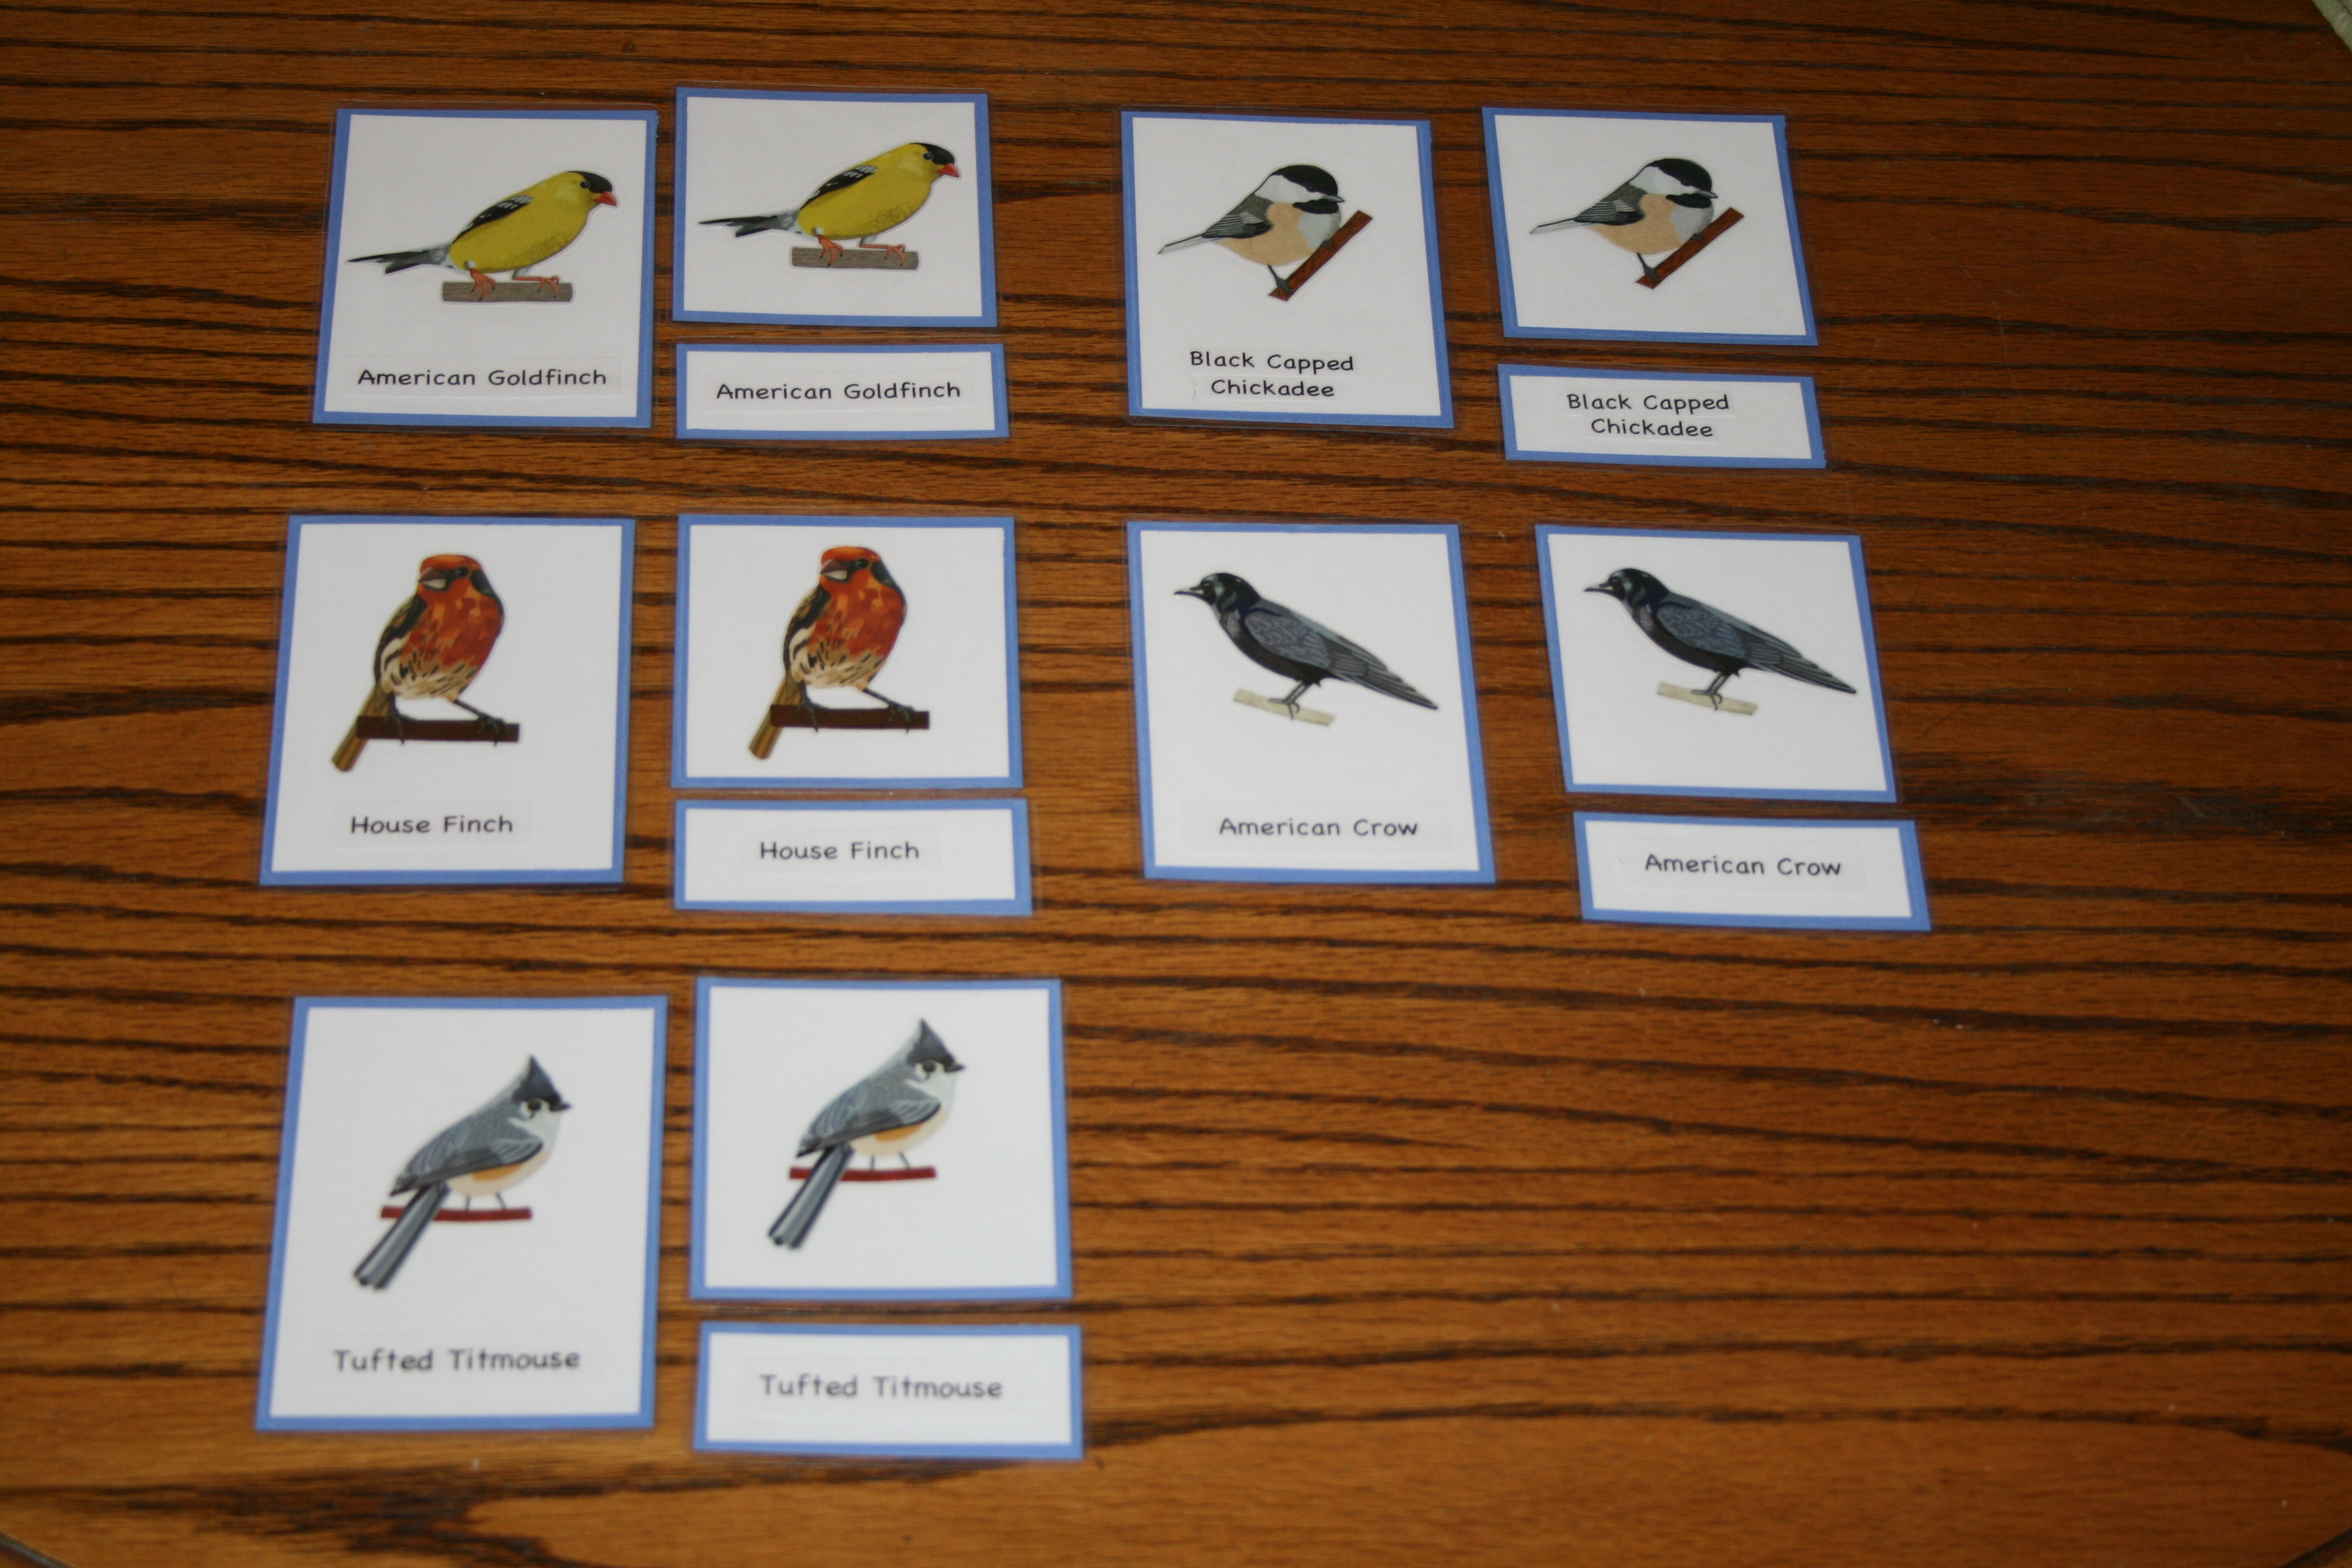
Then, more recently I was at Michael’s and I found some beautiful bird stickers, so last week I made these:


The words will be harder for her to read, so I read them for her and she’s already learning new bird species!
And then, when I decided to go with a geography theme for Julia’s upcoming 2nd birthday, I found this great resource with free continent three part card printables, flags of the world printables, and more!
A huge list of free three part card printables:
http://thelittlelist.wordpress.com/2011/05/07/free-montessori-nomenclature-three-part-cards/
One more resource for photo three part cards:
http://www.1plus1plus1equals1.com/MontessoriPrintables.html
Country Flag card printables:
http://www.homeschoolcreations.com/Geography.html
This is another great how to create three-part cards resource:
http://www.montessoriprintshop.com/Prepare_3-Part_Cards.html
If you’re anything like me, you won’t be able to stop once you’ve started. Maybe we can start a three part cards support group or something! Please let me know if this article was useful for you by leaving me a comment.
And have a wonderful week, Shelly
Great idea to start a support group! Did you do it?